Integrating Salesforce with Textdrip using the Automation Studio

14 September 2024

TJ Gaushas
Are you tired of manually sending SMS notifications to your customers? The Salesforce-to-Textdrip integration offers a powerful solution to streamline your communication process. By automating SMS notifications for CRM activities, you can save time, improve efficiency, and increase customer satisfaction.
Imagine being able to automatically send SMS reminders for upcoming appointments, notifications for new leads, or design workflows that automatically trigger personalized text messages to customers which helps you stay ahead in nurturing leads and maintaining customer satisfaction. With Salesforce-to-Textdrip integration, all of this is possible.
In this tutorial, we'll guide you through the steps of setting up this integration. By the end, you'll have a fully functional system that allows you to automate SMS communications based on your Salesforce data.
Prerequisites
Before you begin, ensure you have the following:
- Salesforce Account (with admin access )
- Textdrip Account (with admin account)
- Ability to configure webhook settings in Salesforce.
Step 1. Accessing Textdrip and Automation Studio
To begin the integration process between Salesforce and Textdrip, follow these steps:
- Open your web browser and navigate to app.textdrip.com.
- Log in using your Textdrip credentials to access the main Textdrip Dashboard.

Once you're on the Textdrip Dashboard, look to the left side of the screen to find various features and options. Click on the "Integration" section in the menu to reveal the sub-menu. From the sub-menu, select "Automation Studio" which will take you to the main integration screen where you can set up and manage your automation workflows.

Step 2. Find Salesforce Integration and Choose an Integration Scenario
In the Automation Studio main screen, you will see a list of available applications for integration. To quickly find Salesforce, type “Salesforce” into the search bar located at the top of the screen.
Once you locate the Salesforce application in the search results, click on ‘Install’ to proceed with the integration setup.

After clicking ‘Install’, you will be redirected to a new screen where you need to select the appropriate integration scenarios based on your requirements. Select the scenario(s) that best fit your needs. Click on the “Continue” button to move forward with the setup.

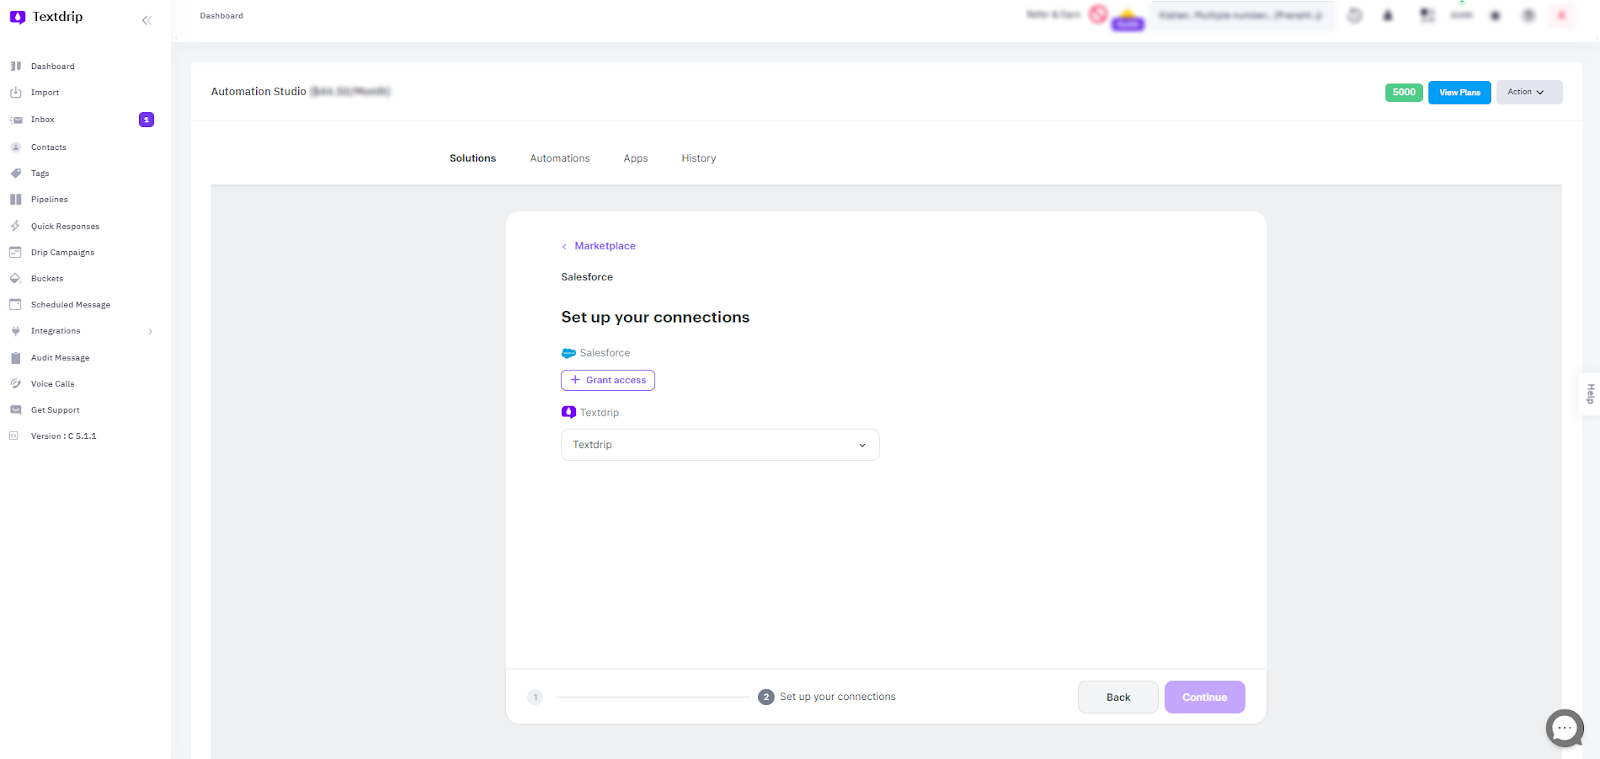
Step 3. Grant Access and Configure Your Salesforce Connection
In the integration setup screen, you will need to grant Textdrip access to your Salesforce account to complete the connection setup. Click on the “Grant Access” button.
After clicking “Grant Access” a new pop-up window will appear where you need to enter the following mandatory details to establish a successful connection with Salesforce:

- Name of Your connection (Note: Create a unique name for your connection. We recommend using different names for your connections to avoid confusion. You can change this later.)
- Environment (Note: Select the environment to connect to. It can be your main account (Production) or the test environment (Sandbox). The created connection will always use the selected environment. To change it, change the environment in the connection and grant access again. Please note that automations with a connection already created may stop working correctly in this case.)
- Additional entities (Note: Following objects data will be loaded by default: Account, Order, Contact, Task, Lead. To work with other objects from Salesforce, specify them separated by commas.)
After entering the required information, click on “Save” or “Continue”.
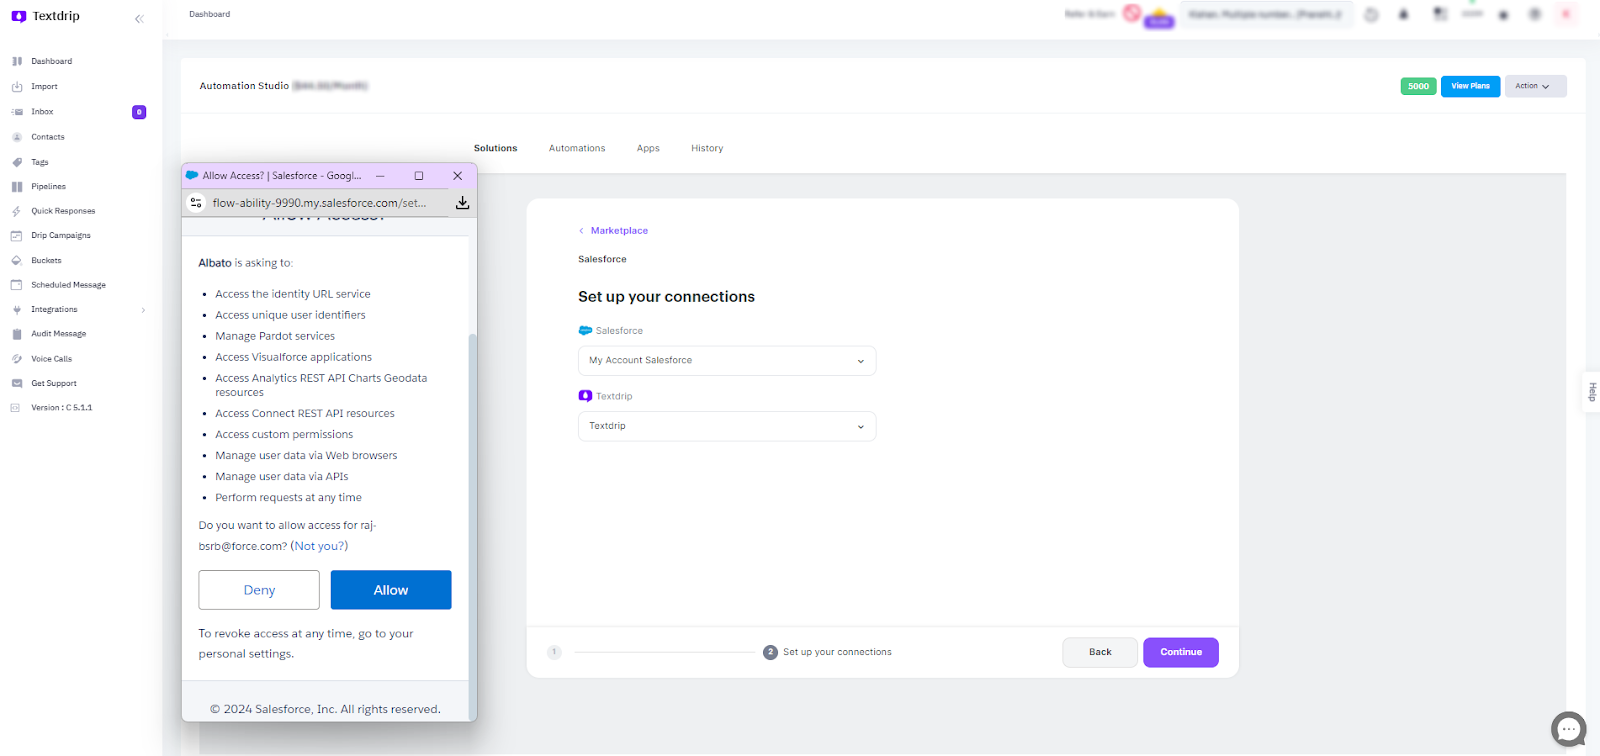
Step 4. Complete the Connection Setup
After clicking “Continue”, a new pop-up window will appear asking you to grant access to your Salesforce account. Here you can review the types of access you are granting to textdrip for effective integration with Salesforce. Click “Allow” to grant the necessary permissions.
Once access is granted, another pop-up will appear indicating that the connection requires manual setup due to the use of webhook technology.
The pop-up will provide a webhook URL that needs to be registered in your Salesforce settings for the integration to function correctly:
- Copy the Webhook URL provided in the pop-up.
- Open Salesforce and navigate to the settings where you can configure webhooks or integrations.
- Paste the Webhook URL into the appropriate field to complete the manual configuration.

Once you have copied and registered the webhook URL, click “Got it” in the Textdrip pop-up window.
Finally, click “Continue” to finish the setup process.
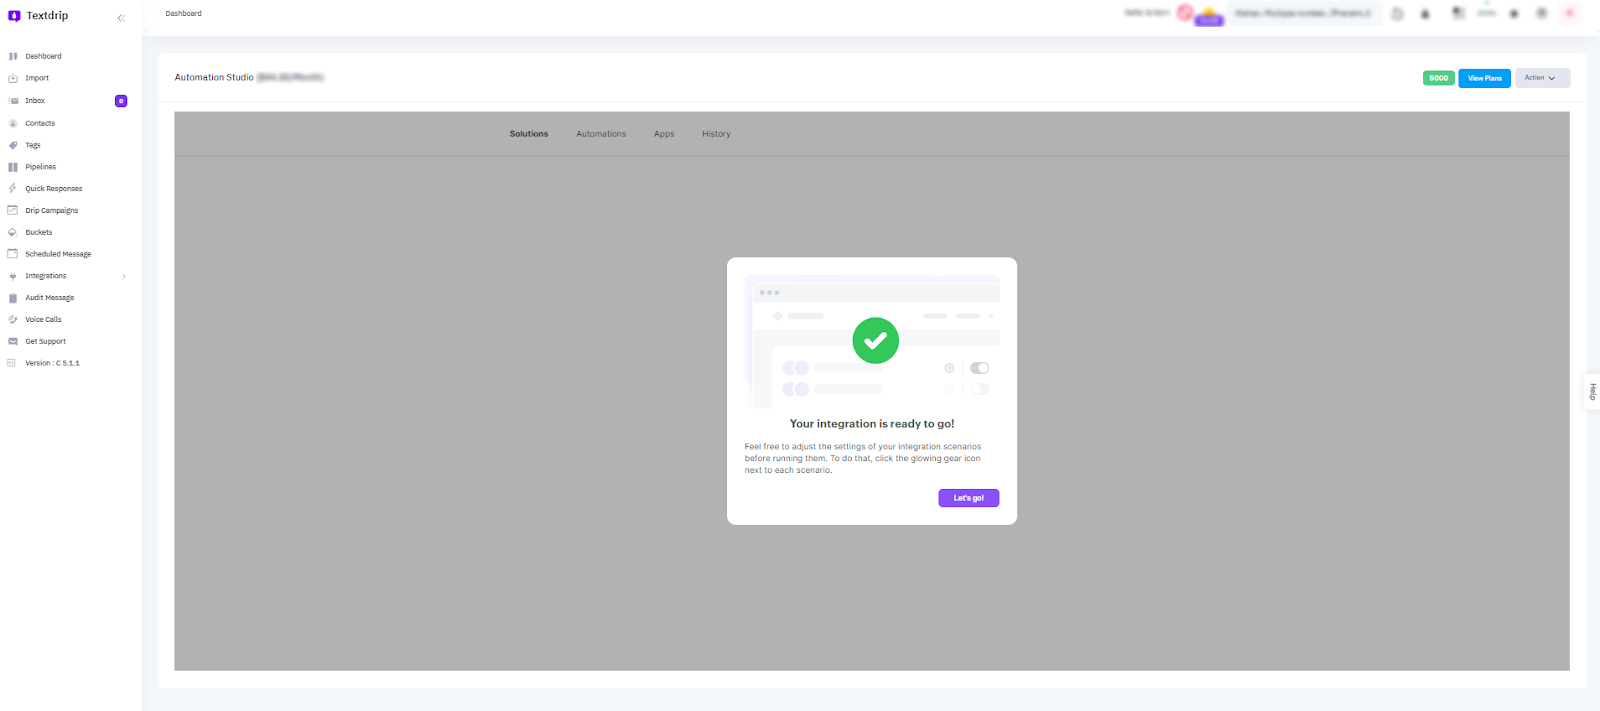
Congratulations! Your Salesforce-to-Textdrip integration is now complete and ready to use. You can now automate SMS notifications based on your CRM activities and streamline your communication processes effectively.
If you'd like to learn more, click here.
Explore more content
Want to Generate
More Sales Opportunities?
Automate your text messaging hustle to generate more sales opportunities with Textdrip and watch your business grow.