Integrating WooCommerce with Textdrip using the Automation Studio

Imagine effortlessly keeping your customers in the loop with personalized SMS updates. No more manual outreach or missed opportunities.
With the WooCommerce Textdrip integration, you can automate SMS notifications for everything from order confirmations to exclusive deals and get benefits like:
- Boost your customer satisfaction with timely updates
- Drive sales with targeted promotions
- Save time by automating your communications
Let’s get started! In this step-by-step guide, we’ll show you how to seamlessly connect WooCommerce and Textdrip.
But You will need before starting:
- An active WooCommerce store
- A Textdrip account
- Access to the Automation Studio in Textdrip
Step 1. Log In to Textdrip Automation Studio
Open your web browser go to app.textdrip.com and enter your Textdrip credentials (username and password) to log in. After logging in, you will be redirected to the Textdrip main dashboard.
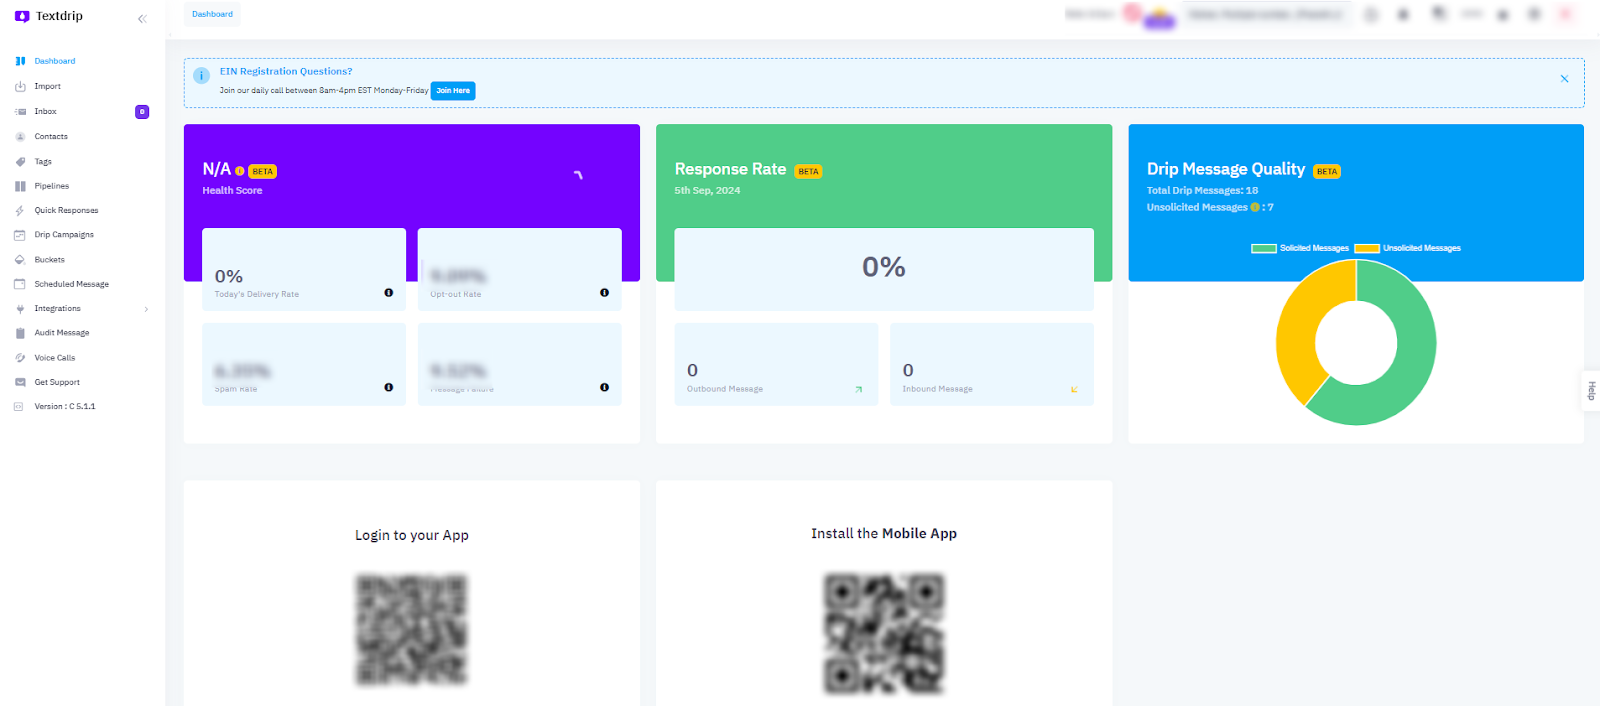
On the main dashboard, look at the left-hand side of the screen where various features are listed. Find and click on “Integrations”. A new sub-menu will open. Click on “Automation Studio” to access the integration screen where you can start setting up your WooCommerce integration.
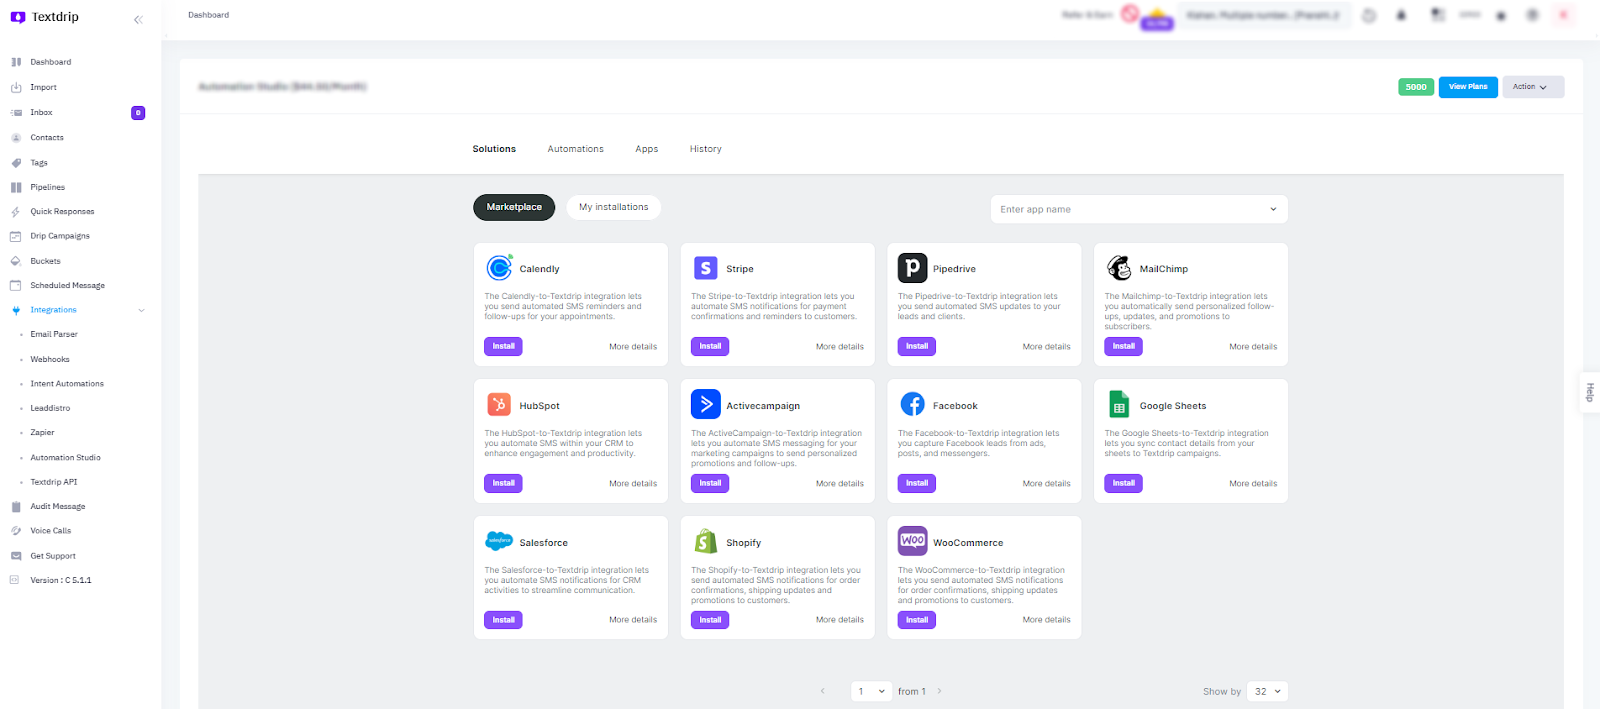
Step 2. Configure WooCommerce Integration in Textdrip
On the integration screen, you will see various integration options. Locate and select “WooCommerce” from the list. Click on “Install” to proceed with setting up the integration.
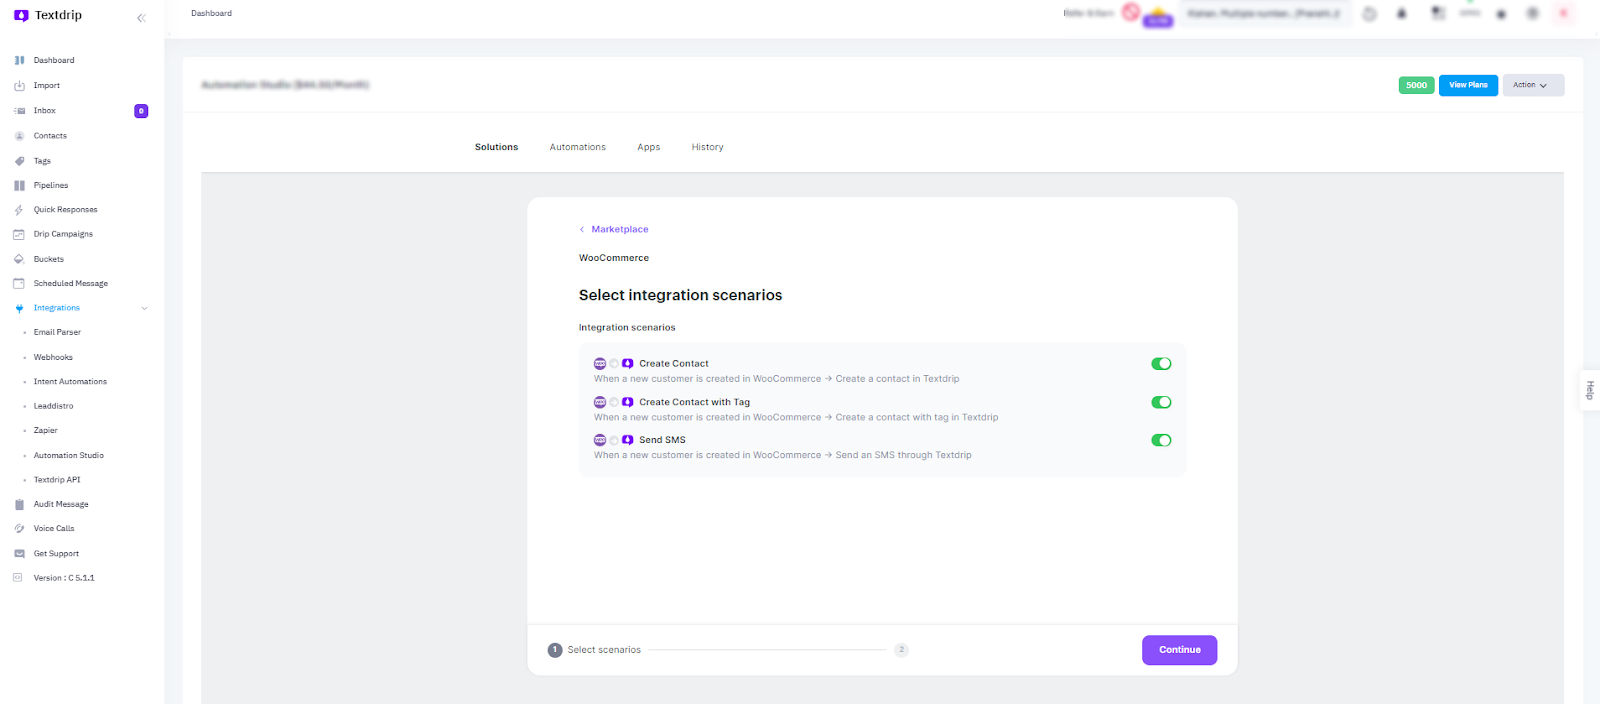
You will be presented with several integration scenarios for automating SMS notifications. Select the scenario that best suits your needs and click on “Continue” to proceed with the setup process.
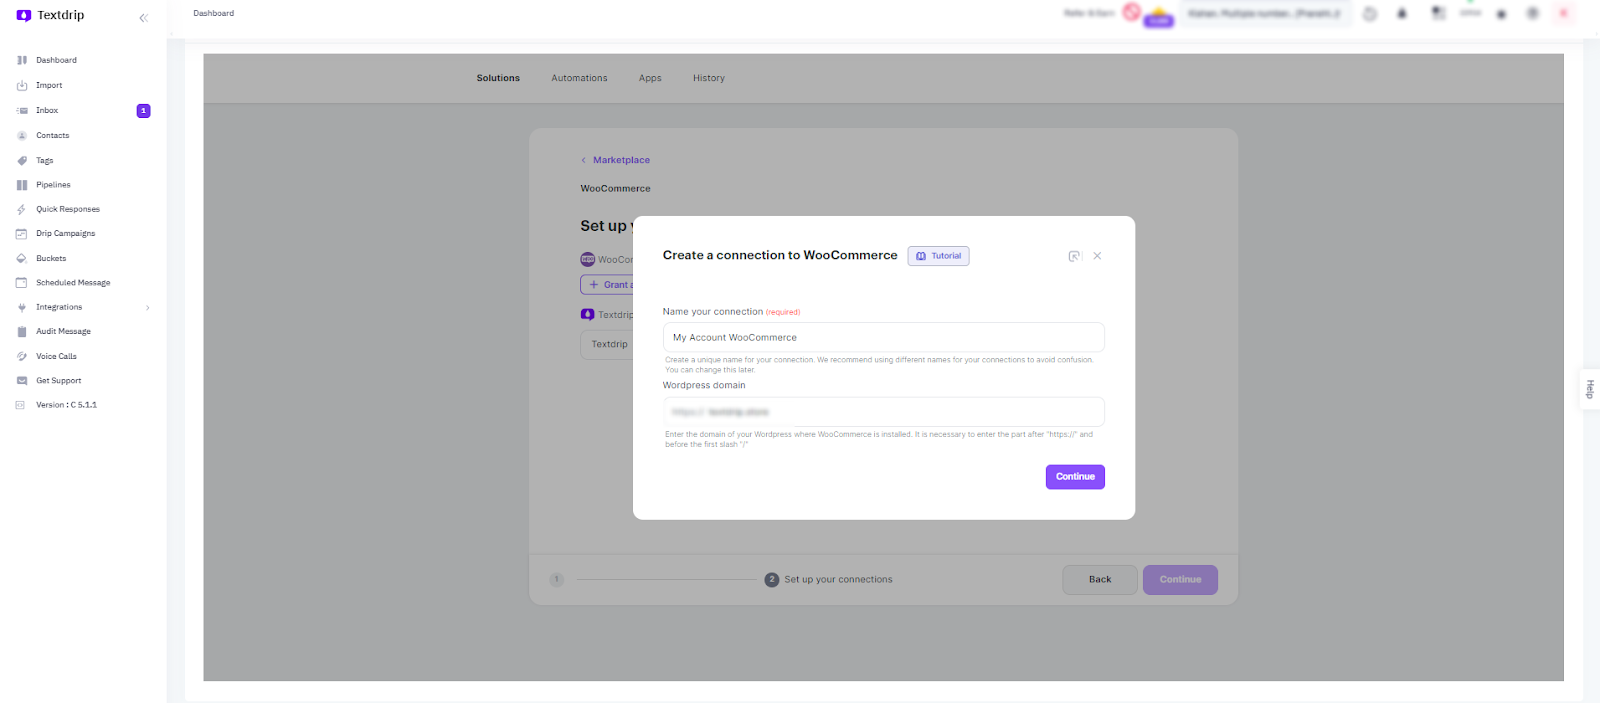
Step 3: Grant Access to WooCommerce
To establish a connection between Textdrip and WooCommerce, click on “Grant Access”.

A new pop-up window will appear. In this window, you need to enter the following mandatory details:
- Unique Name: Provide a unique name for this connection to easily identify it later.
- WordPress Domain Name: Enter the domain name where your WooCommerce store is installed (e.g., www.yourstore.com). (Note: WordPress store domain after “https://” and before the first slash “/”)
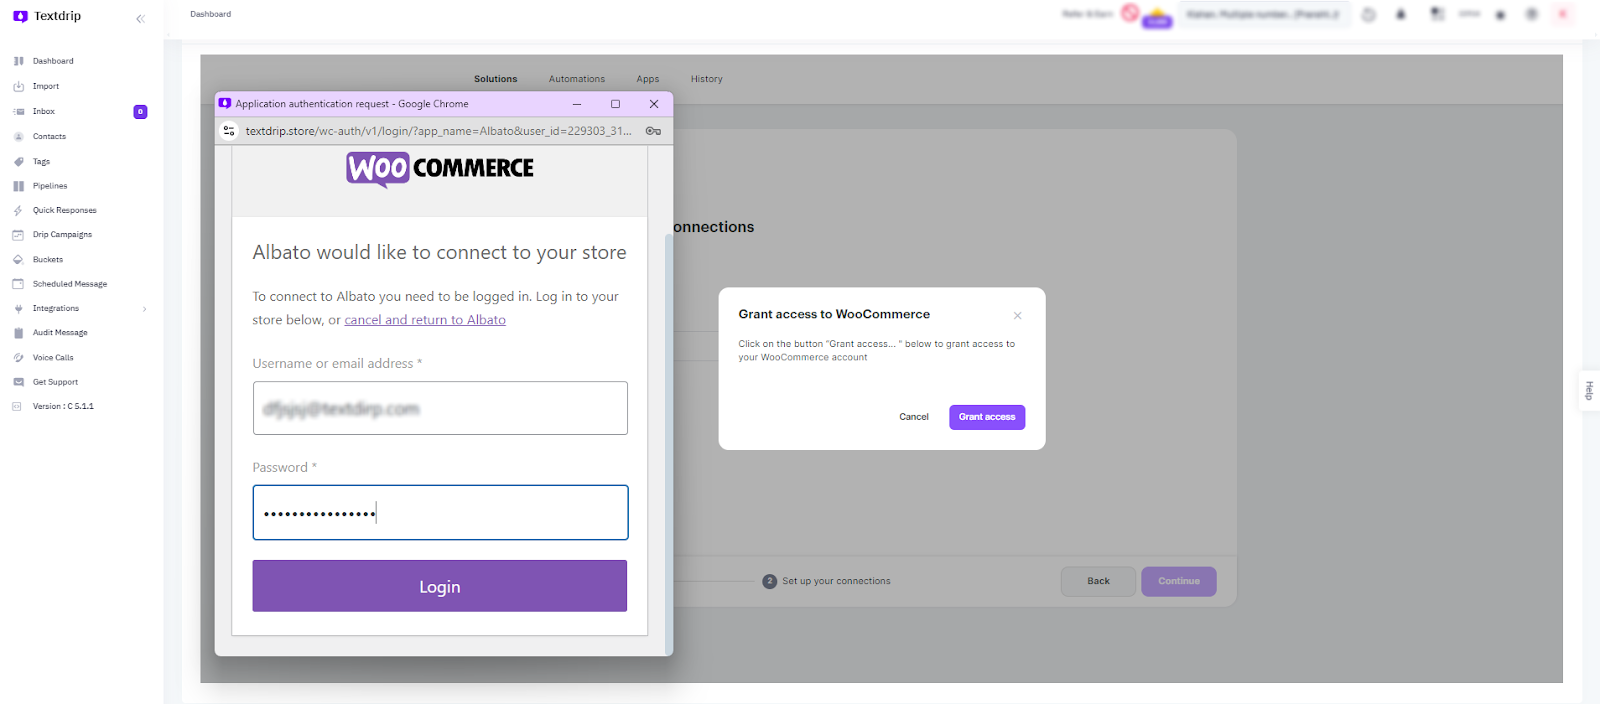
Step 4: Authenticate and Complete the Connection
After filling in the connection details, click on “Continue”. This will open a new pop-up window for application authentication.
In the authentication window, enter your WooCommerce credentials:
- Username or Email ID
- Password
Click “Login” to authenticate your request.
Once your credentials are verified and the authentication is successful, you will receive a confirmation that the connection is established.
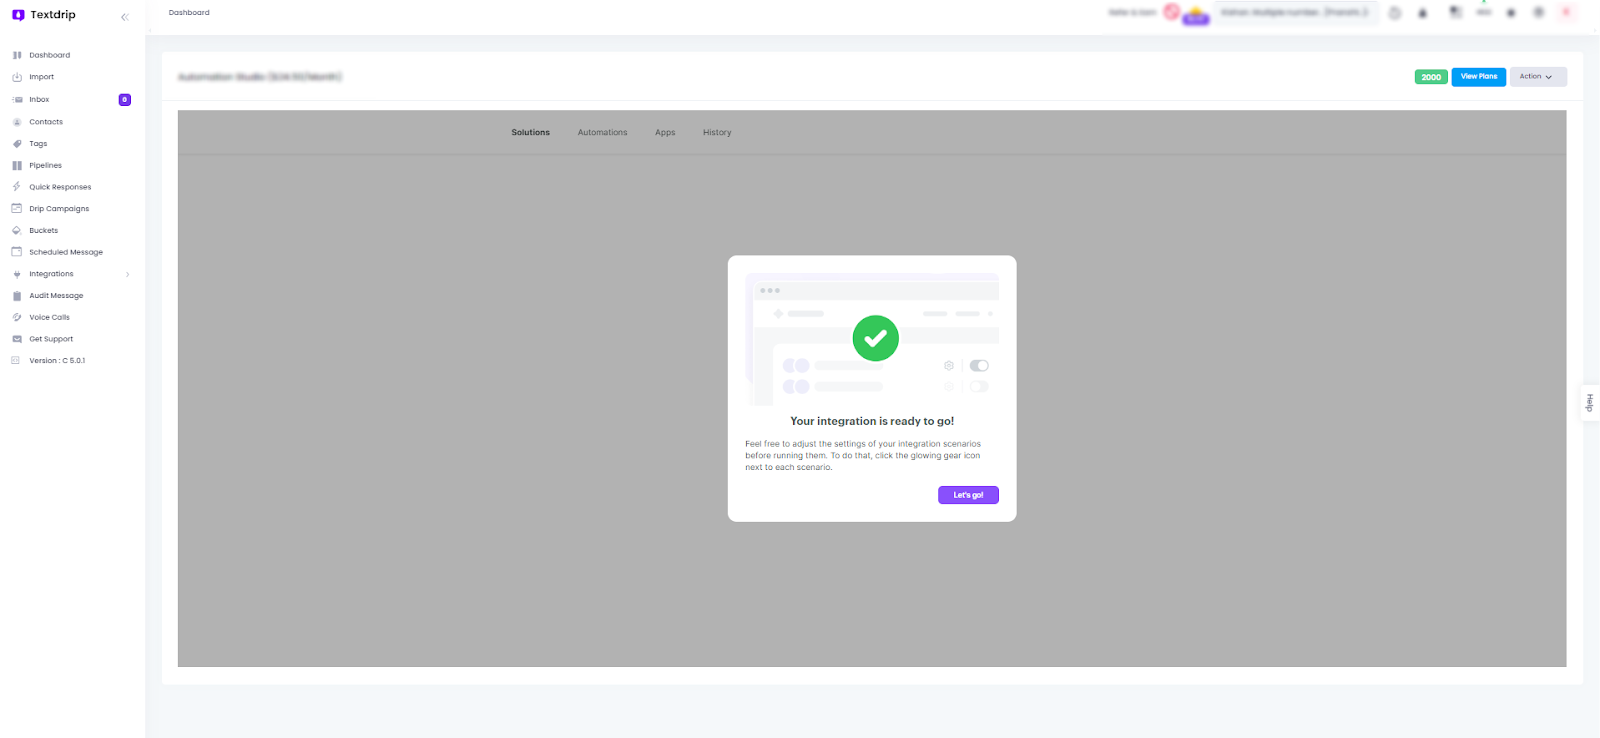
Congratulations! Your Textdrip and WooCommerce integration is now ready to use. You can start setting up and managing your automated SMS notifications.
To get more information about WooCommerce Integration, you can click here .