Integrating Flowlu with Textdrip using the Automation Studio

Say you create or update a lead in Flowlu. BAM! That contact is automatically added to your custom text message campaign created with Textdrip. No copy-pasting, no waiting, and definitely no missed follow-ups.
Whether you’re tracking projects, deals, or invoices in Flowlu CRM, you can now be proactive, engage with leads, and close deals faster, all while on autopilot.
That’s the power of Automation Studio.
With Flowlu integrated with Textdrip, you can:
- Capture CRM contacts in real time
- Send follow-up SMS automatically
- Increase sales productivity
- Increase communication with clients
In this tutorial, we’ll show you how to do the integration quickly and easily by following a few steps. Are you ready?
What you’ll need before integrating Flowlu with Textdrip:
- A Flowlu account with access to CRM or Projects
- A Textdrip account with Automation Studio enabled
- A working Webhook or API key from Flowlu (available in settings)
- Access to Integration permissions on both platforms
Step 1: Log into Textdrip and Open Automation Studio
Go to app.textdrip.com and log in using your Textdrip credentials.
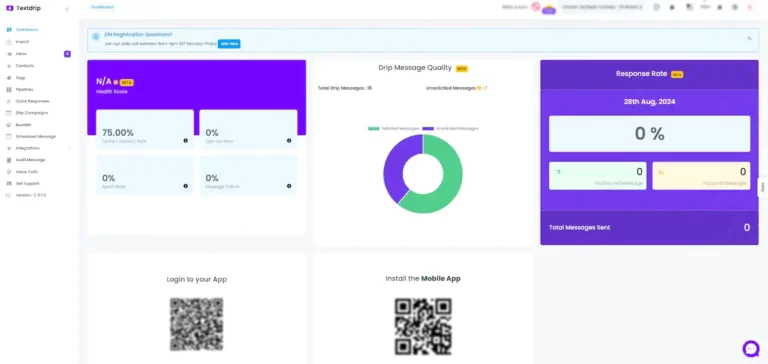
On the left-hand side menu, click “Integration”. Under the Integration tab, select “Automation Studio”.
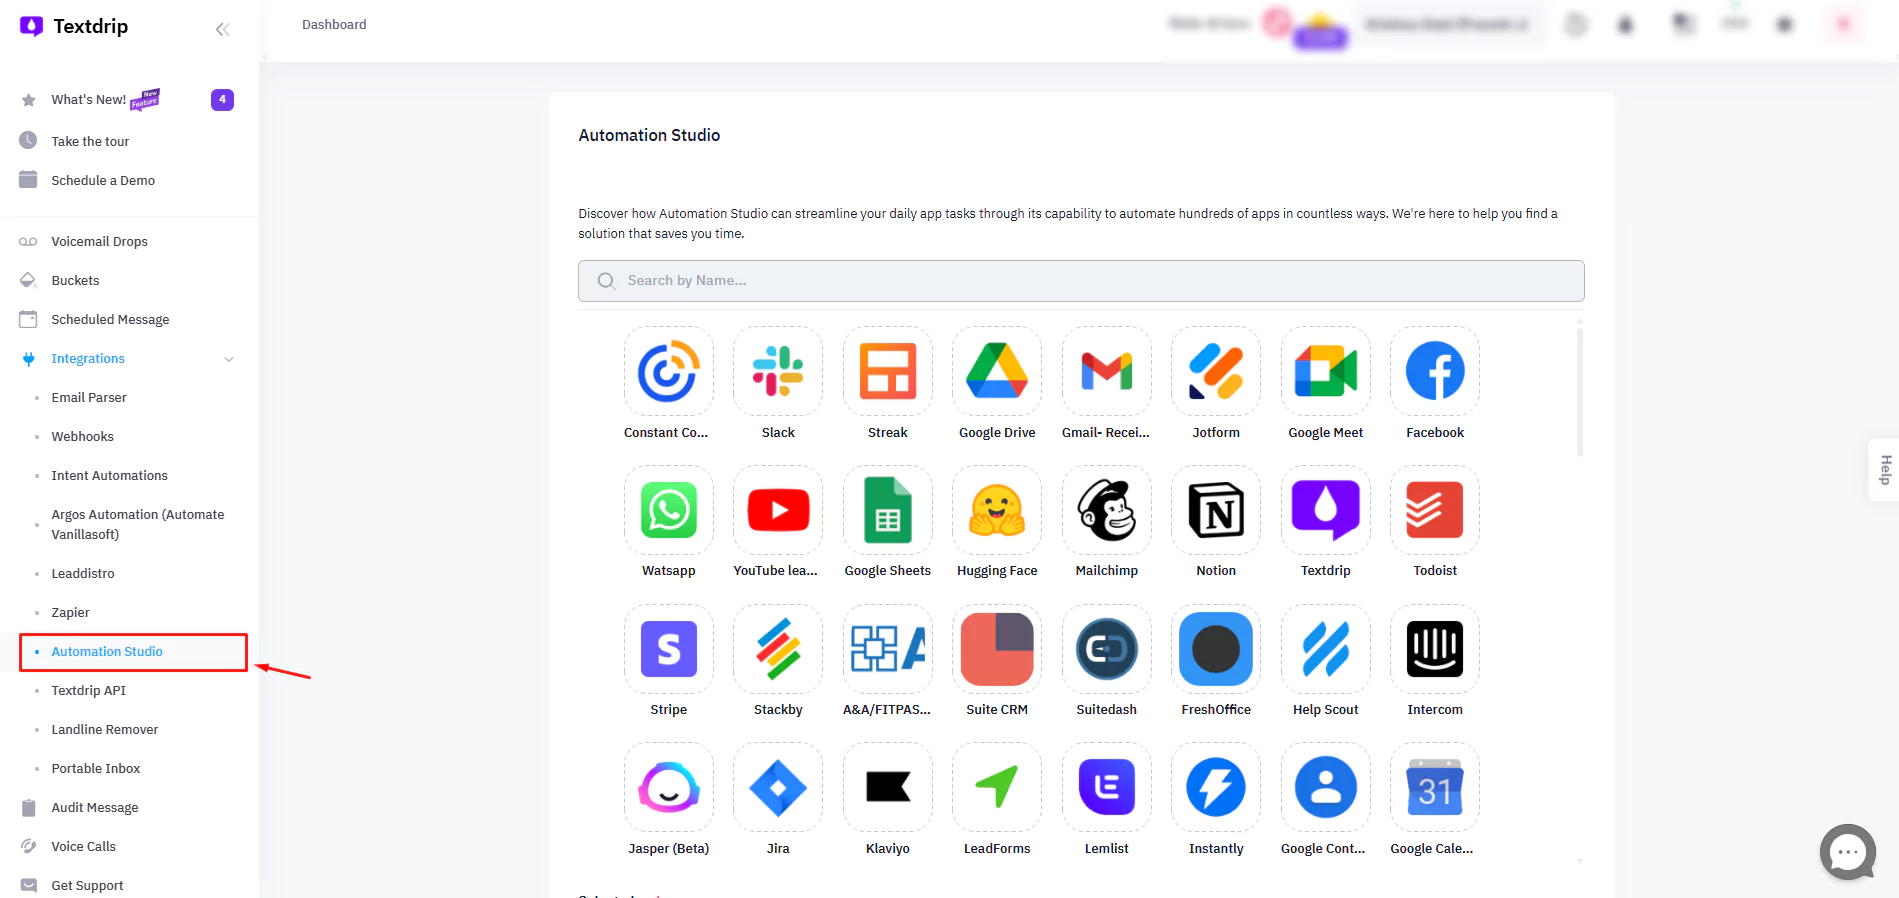
This is your workspace to create automations between Flowlu and Textdrip.
Step 2: Search and Select Flowlu in Automation Studio
On the Automation Studio page, you’ll see a search bar. Type “Flowlu” and you’ll see the Flowlu app icon appear. Click on the Flowlu icon, then click the “Add Connection” button to begin the setup.
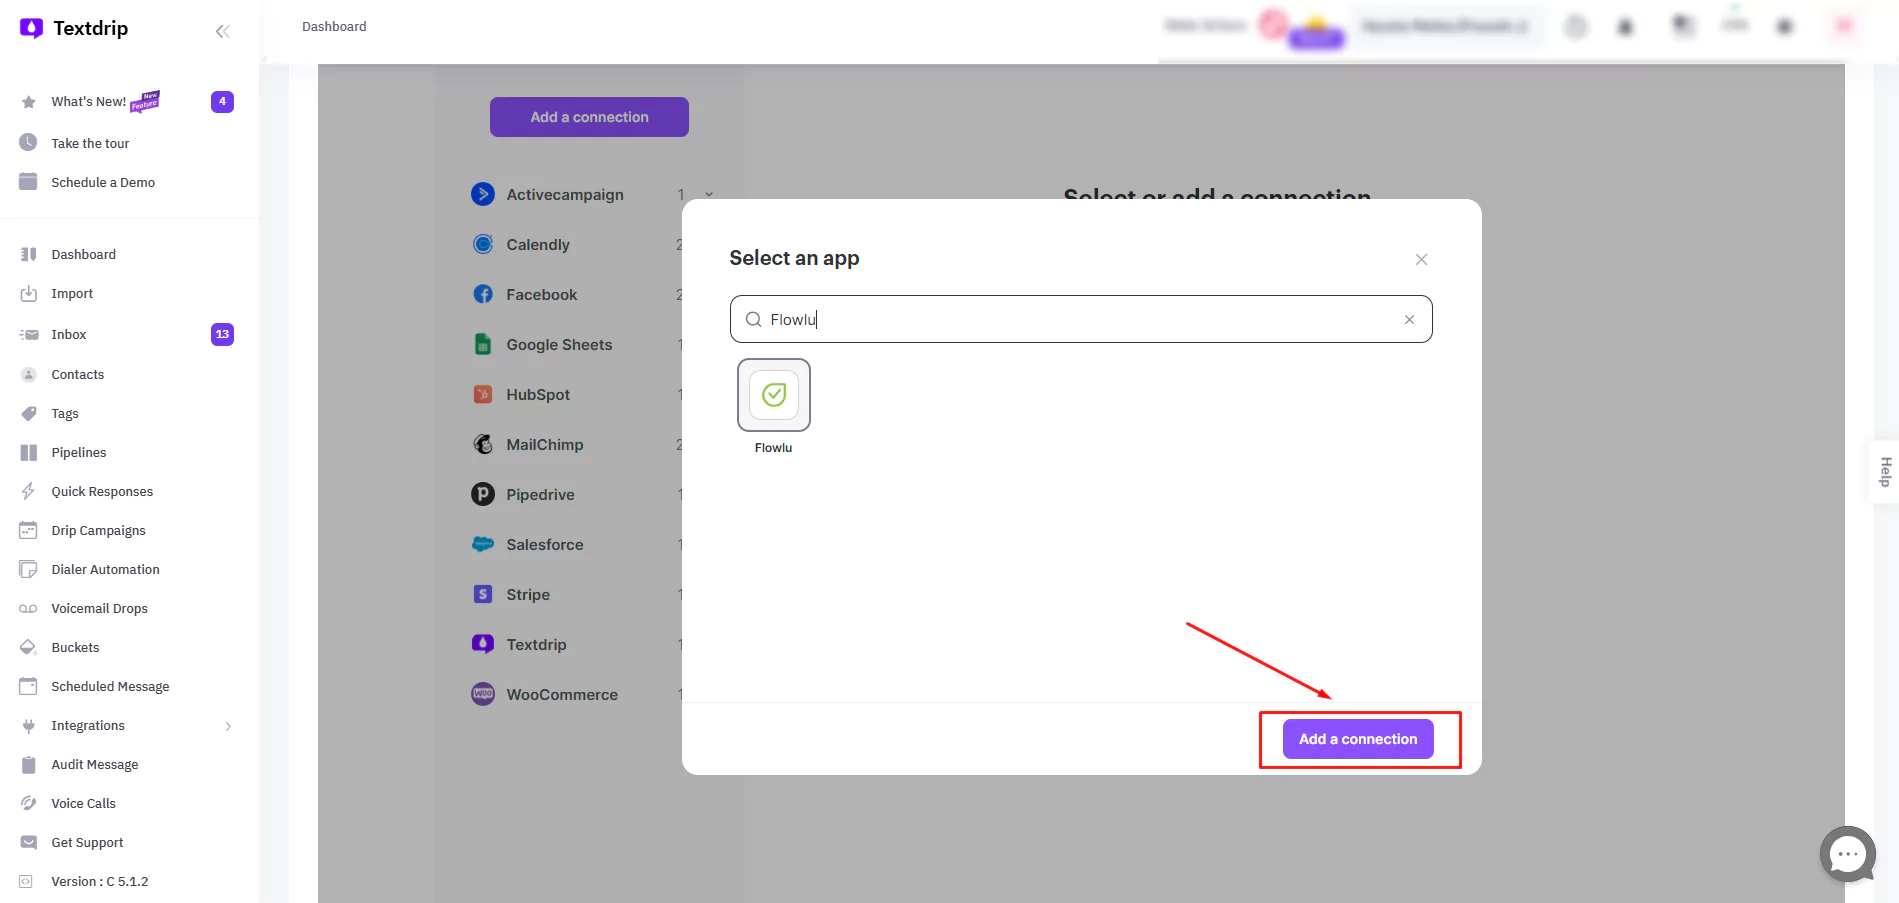
You’ll be taken to a new screen where you’ll configure the connection.
Step 3: Name Your Connection and Verify API Key
You’ll now be asked to give your Flowlu integration a unique name.
This could be something like “Flowlu CRM Lead Capture” or “Project Notifications Flowlu,” etc.
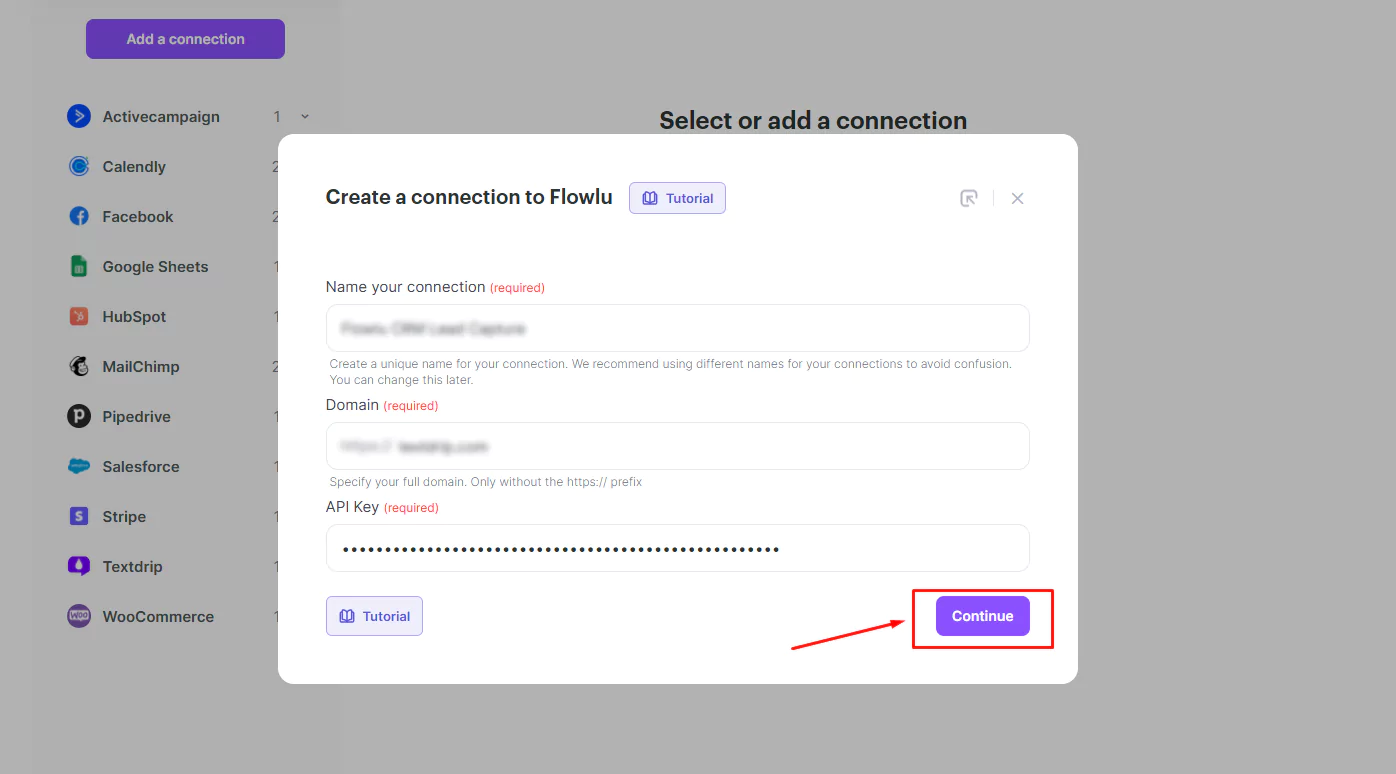
After naming it, add the respective domain name and API key.
To find your API key, go to your Flowlu account > System Settings > Portal Settings > API.
Textdrip will now validate your Flowlu API key and confirm the connection.
If the connection is successful, you’ll see the following pop-up:
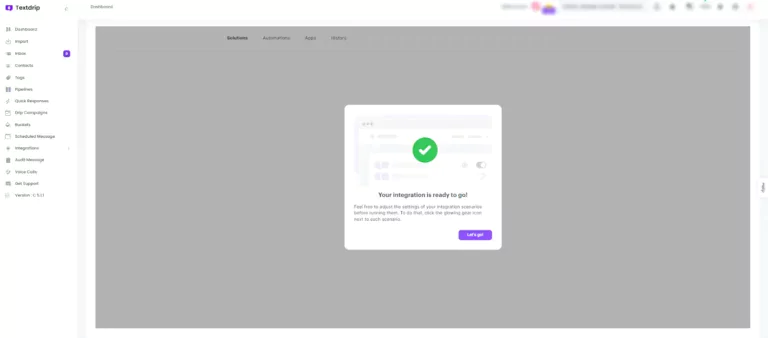
Congratulations!
Your Flowlu Textdrip integration has been successfully activated! You’re now ready to automate lead follow-ups, task reminders, invoice notifications, and much more via SMS.
Textdrip will monitor Flowlu in real-time and automatically send customized SMS directed to prospects, when the scenarios you’ve built is met.
Want even more customization? You can always return to Automation Studio and change the triggers, delays, messages, or campaign flows.
If you need more details about Flowlu integration, Click here for the full documentation.