04 Oct 2024
TJ Gaushas
04 Oct 2024
TJ Gaushas
Want to turn Facebook leads into customers faster?
Imagine You’re running a Facebook ad and someone clicks “Learn More.” BAM! They’re automatically added to your personalized text message campaign. No manual work is required.
Whether you’re targeting through ads, posts, or Messenger, you can keep your business responsive, build better relationships, and increase conversions—all on autopilot.
That’s the power of Automation Studio.
In this tutorial, We’ll walk you through the setup process in just a few simple steps. Ready to get started?
To start the integration process, Open your browser and go to app.textdrip.com. Log in with your Textdrip credentials. Once you’re on the Textdrip Dashboard, look to the left-hand navigation menu and click on “Integration”.
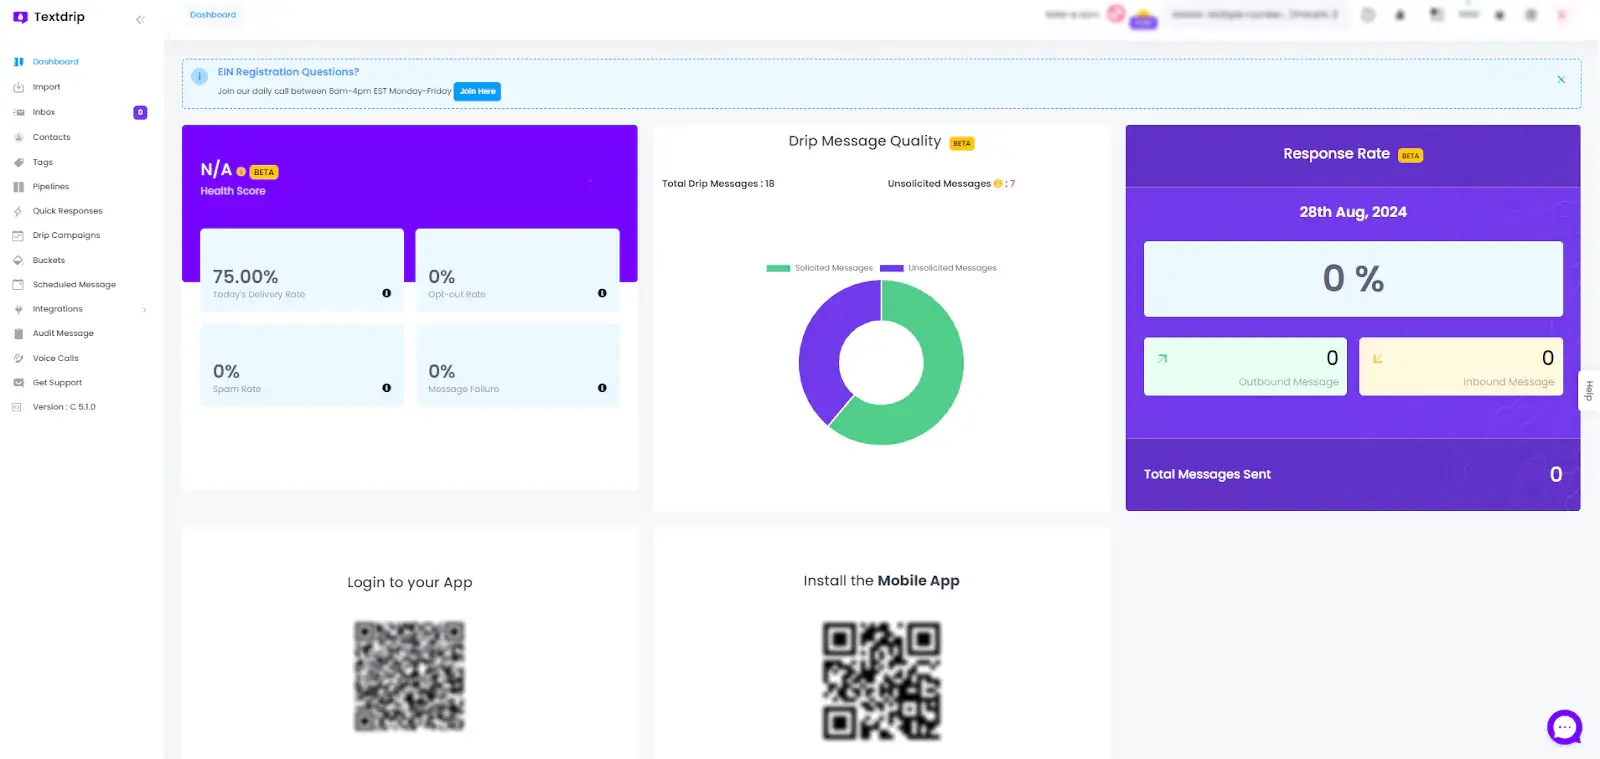
In the Integration section, click on the submenu labeled “Automation Studio”. This is where you’ll build your workflows to capture leads from Facebook and automate SMS follow-ups.
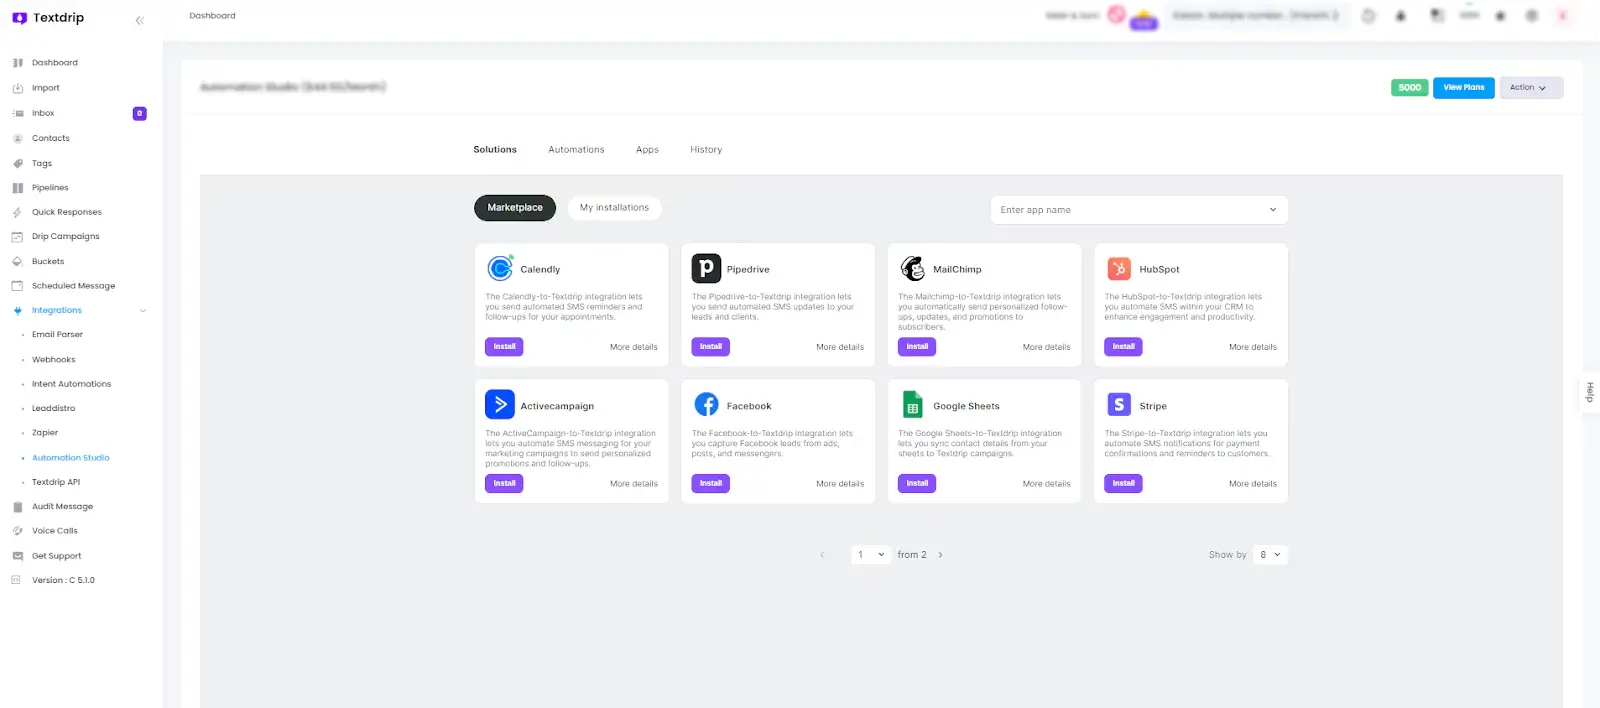
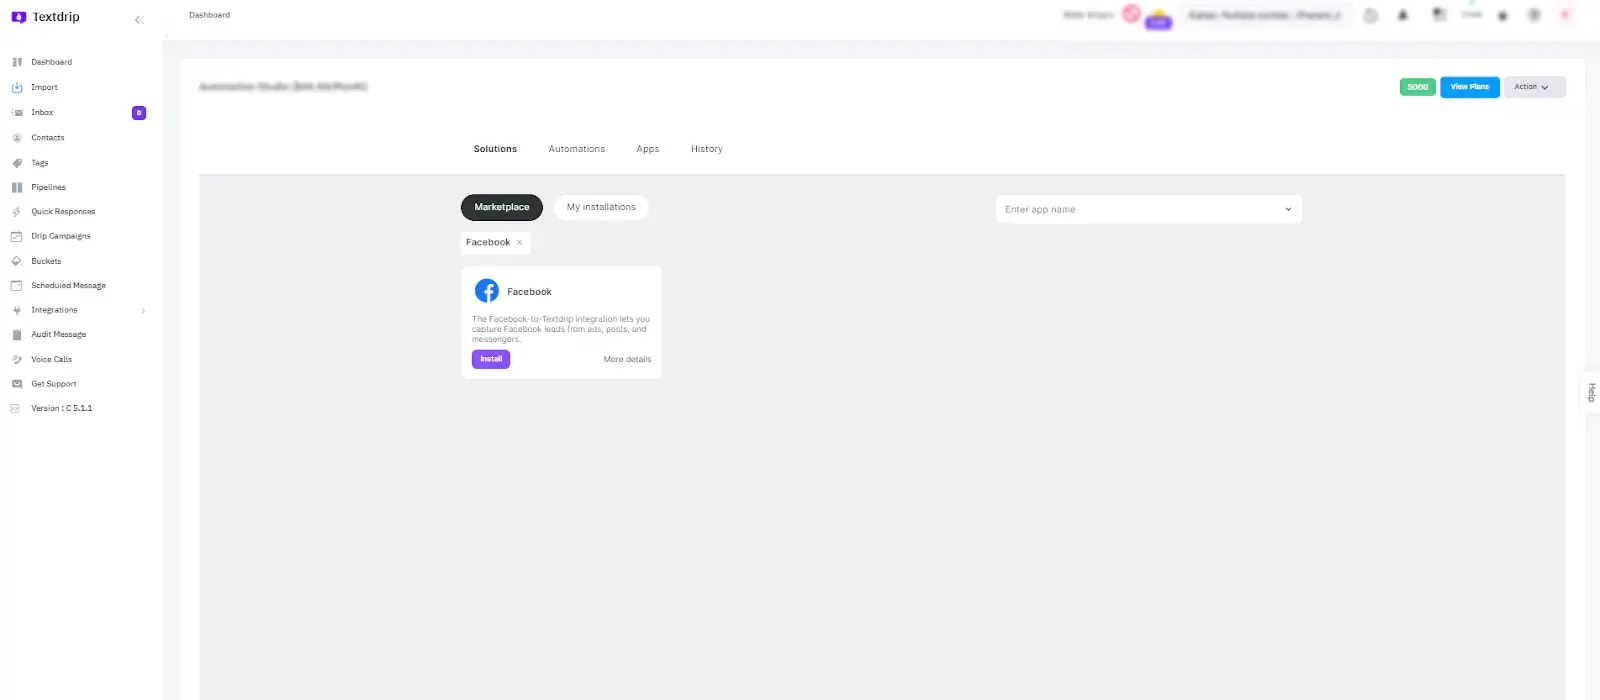
On the Automation Studio page, you’ll see a list of available applications for integration. At the top, there’s a search bar. Type “Facebook” into the search field. The Facebook app option should appear in the results.
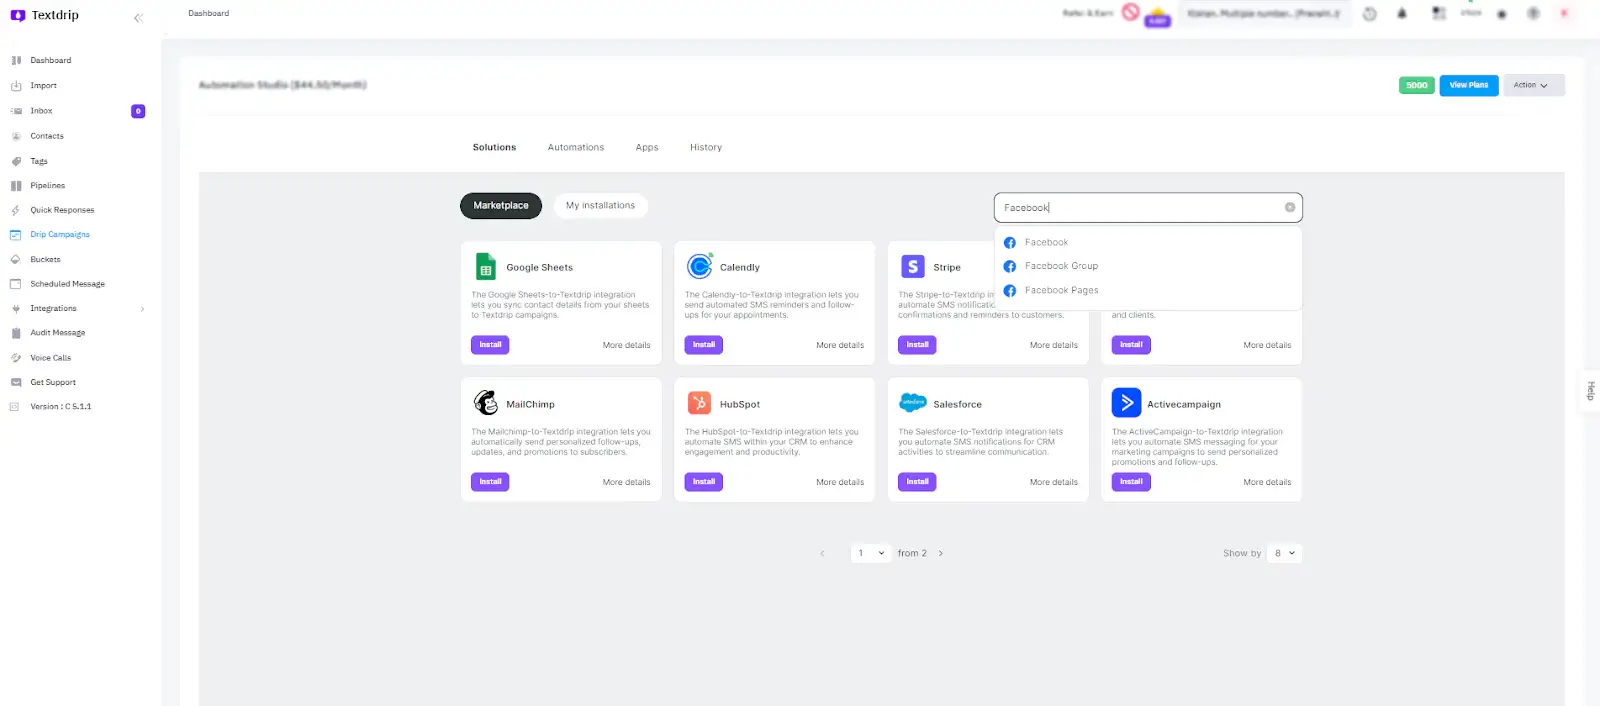
Once you’ve located “Facebook”, click on it. To begin the integration process, click the “Install” button next to the Facebook icon that will redirect you to a new screen where you’ll start connecting your Facebook account.
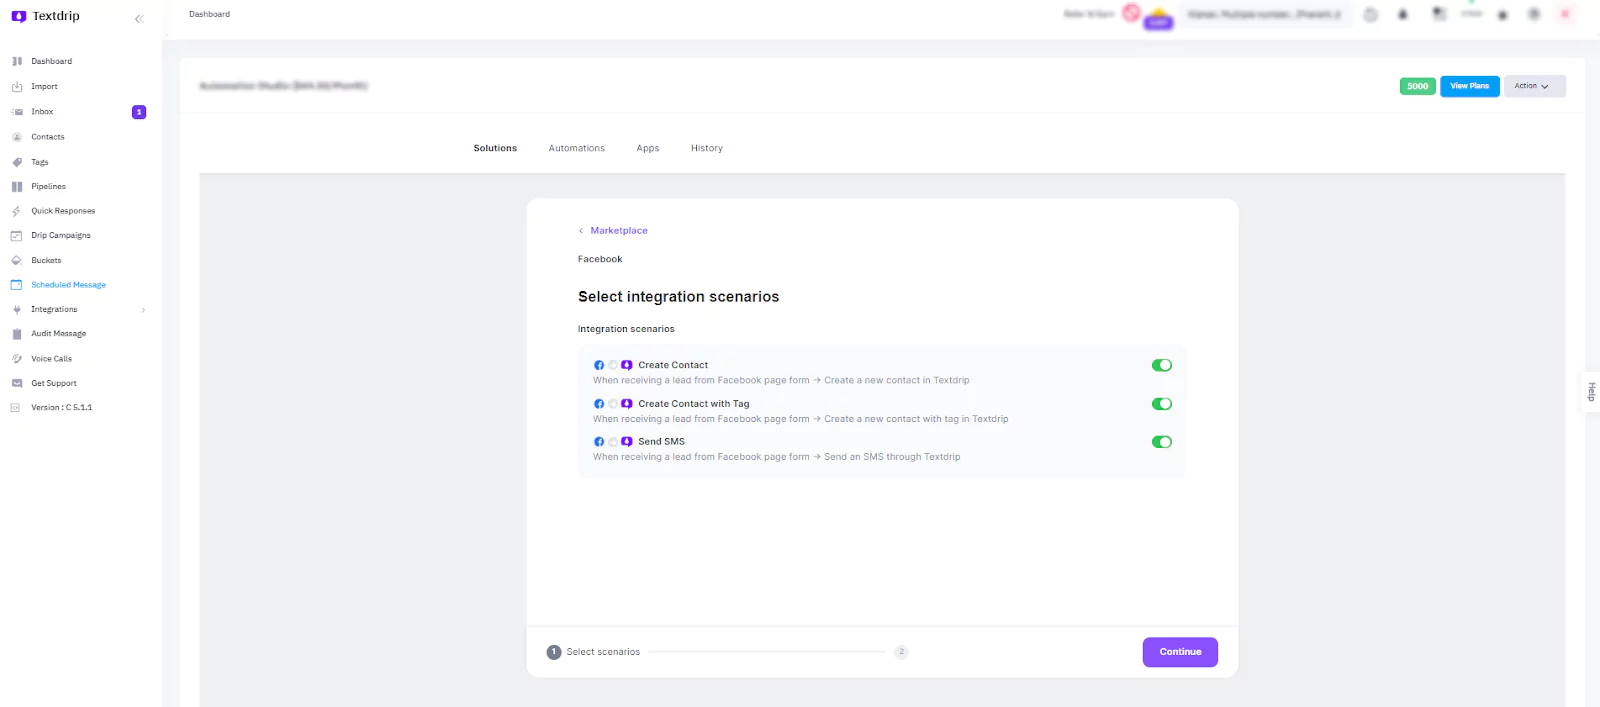
In the screen that appears, you’ll see different integration scenarios designed for specific use cases. From there, you have to choose the scenario that best fits your SMS campaign goals. Once you’ve selected the scenario, click “Continue” to move forward.
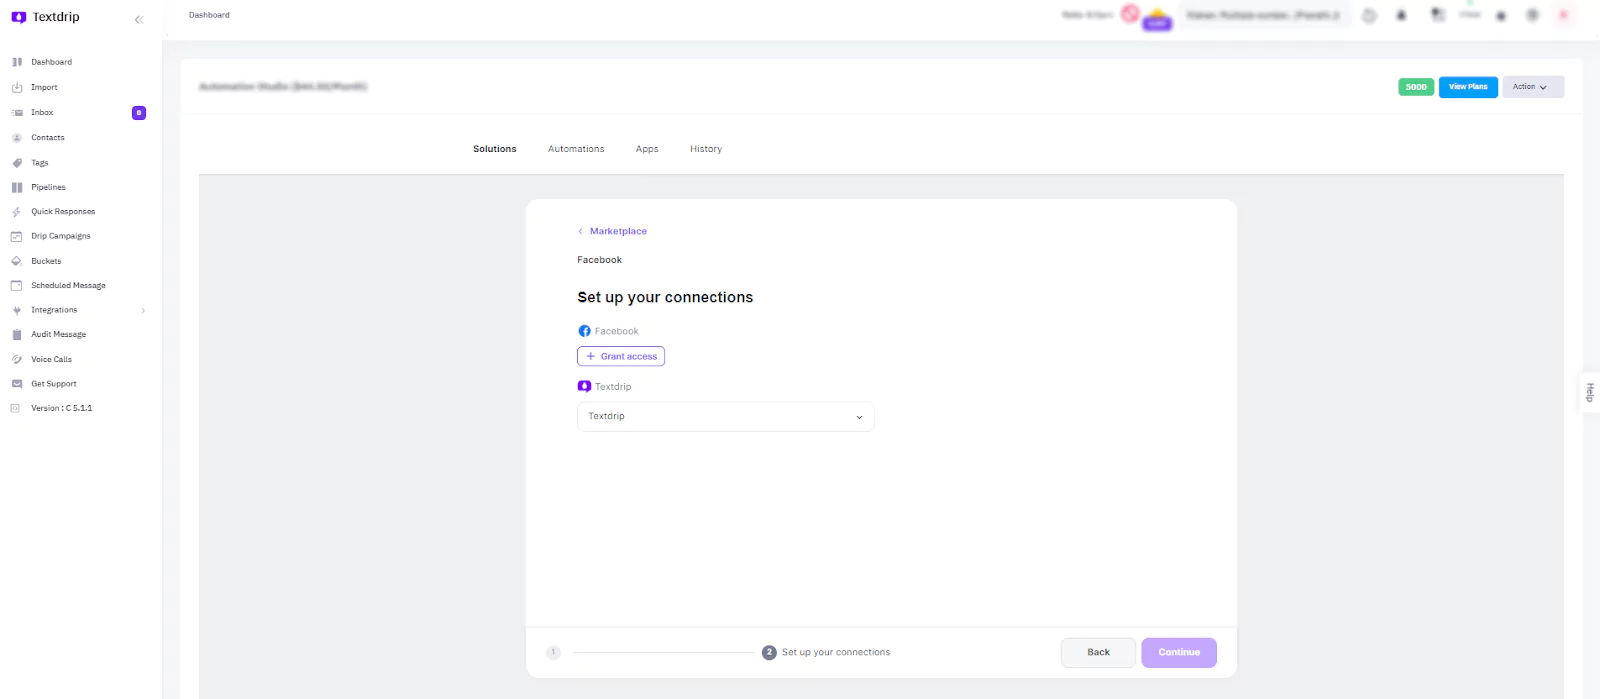
You’ll be redirected to a screen where Textdrip will request permission to access your Facebook account. To authorize Textdrip to capture leads from Facebook, click on the “Grant Access” button which allows Textdrip to connect with your Facebook Business account, pages, and ads.
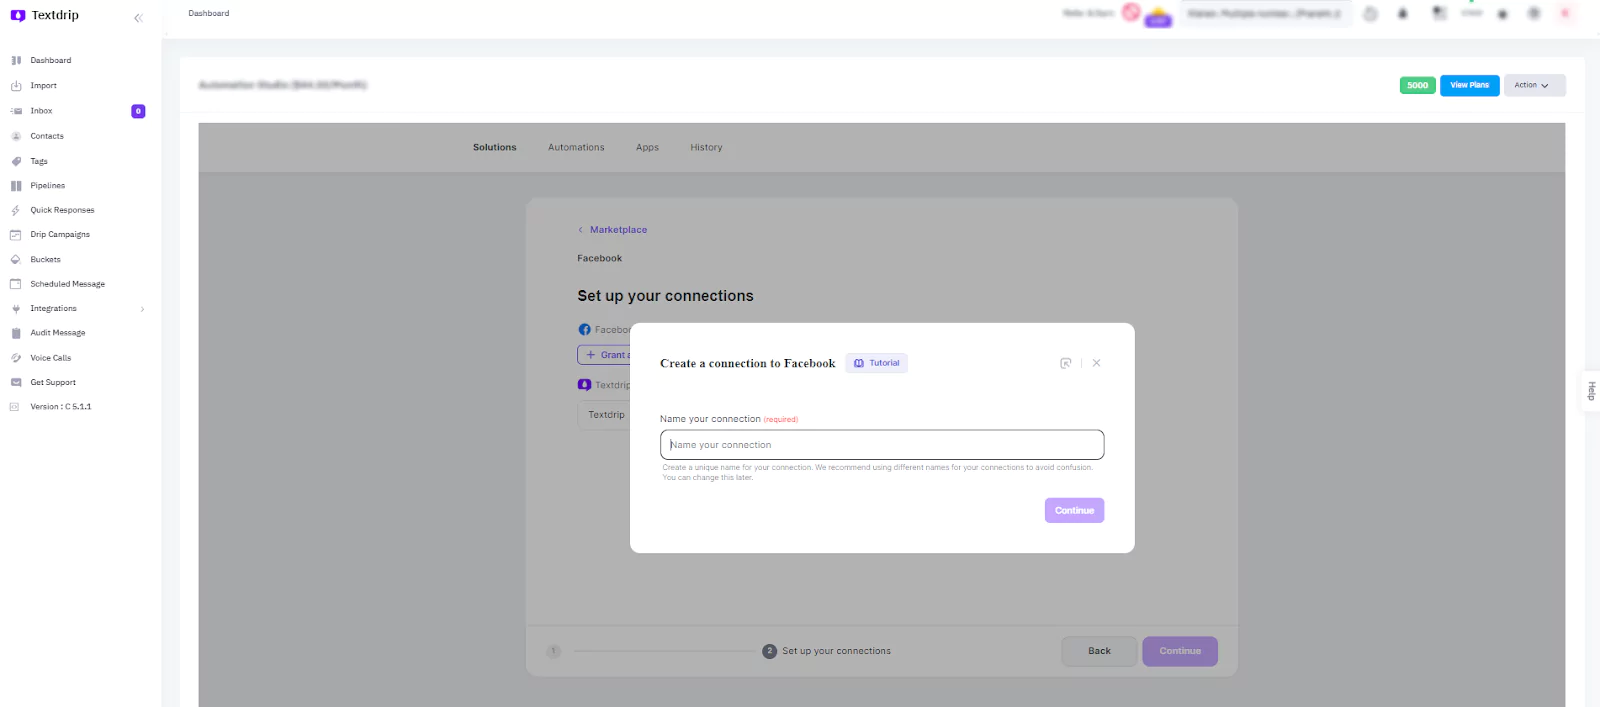
After clicking “Grant Access” a pop-up window will appear asking you to provide a unique name for your Facebook-Textdrip connection. This step is helpful to avoid confusion if you plan to integrate multiple Facebook accounts or campaigns in the future.
You can name it something simple like “Facebook Ads Integration” or anything relevant to your campaign needs.
Don’t worry—you can change this name later if needed. After entering the name, click “Continue”.
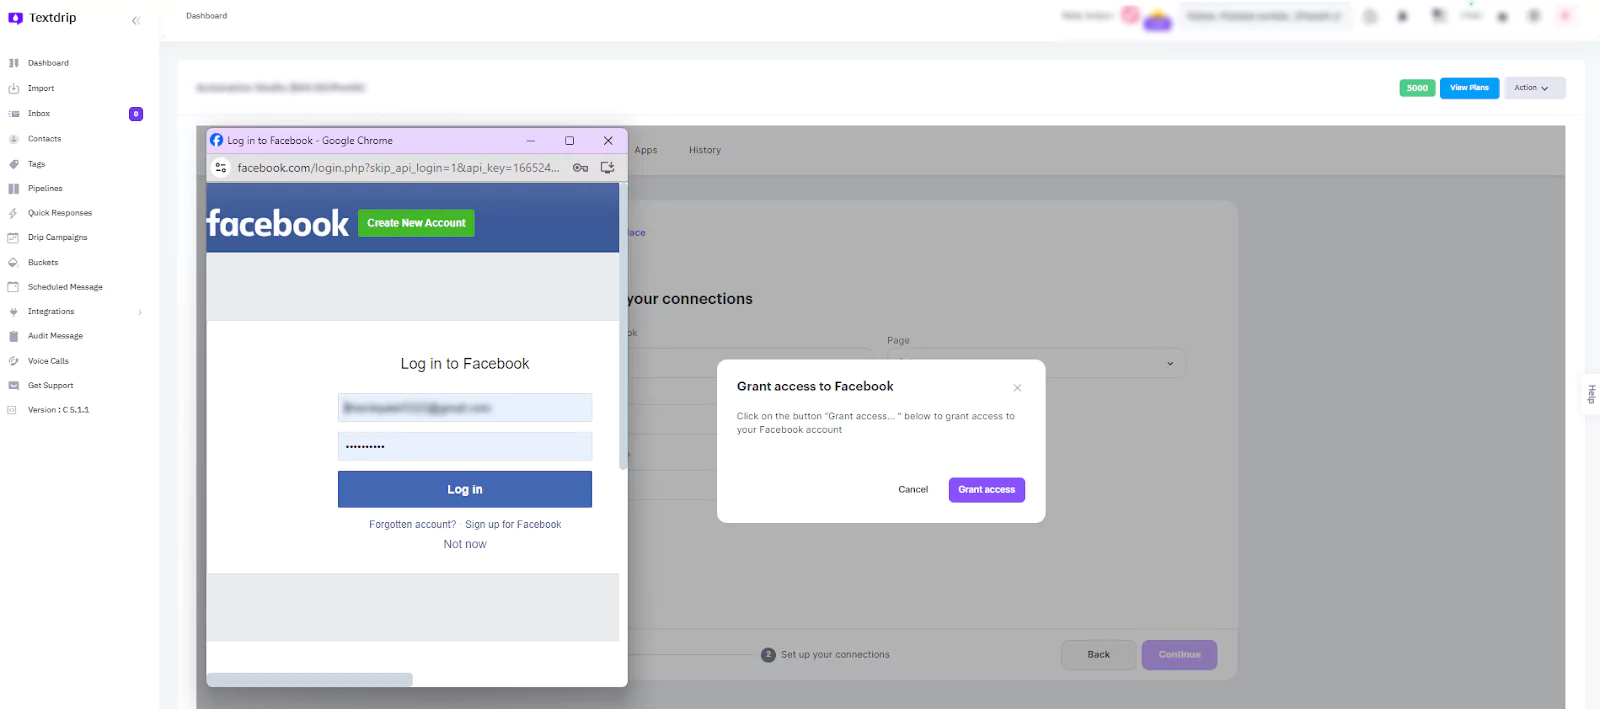
As you can see below new pop-up will appear, this time from Facebook. In this window, log into your Facebook account using your credentials (email/phone and password).
Once logged in, Facebook will ask for permission to connect with Textdrip. Make sure you allow the necessary permissions so Textdrip can access your ads, pages, and Messenger.
Once permissions are granted, a pop-up will appear stating “Connection Successfully Created”.
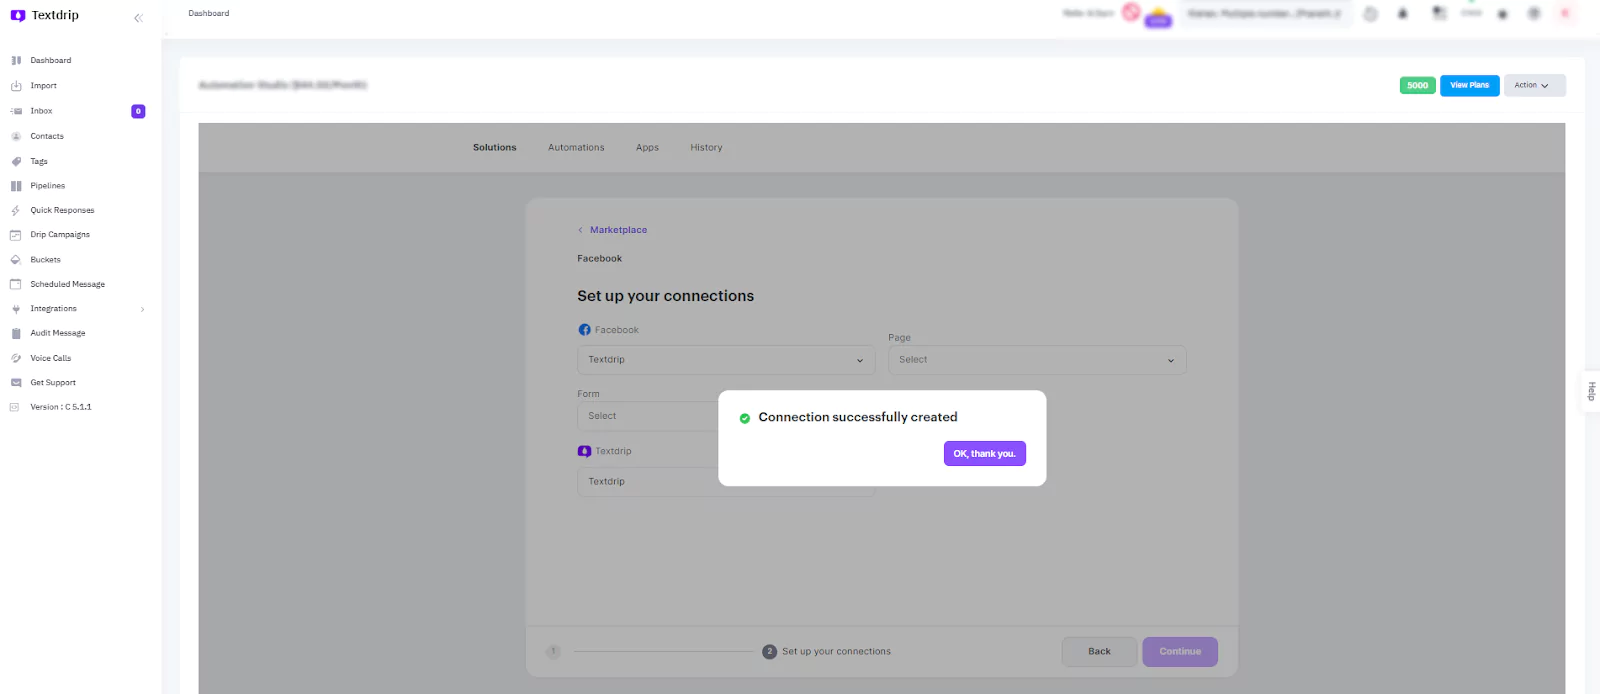
Click on “Ok, Thank You!” to acknowledge the success message and proceed.
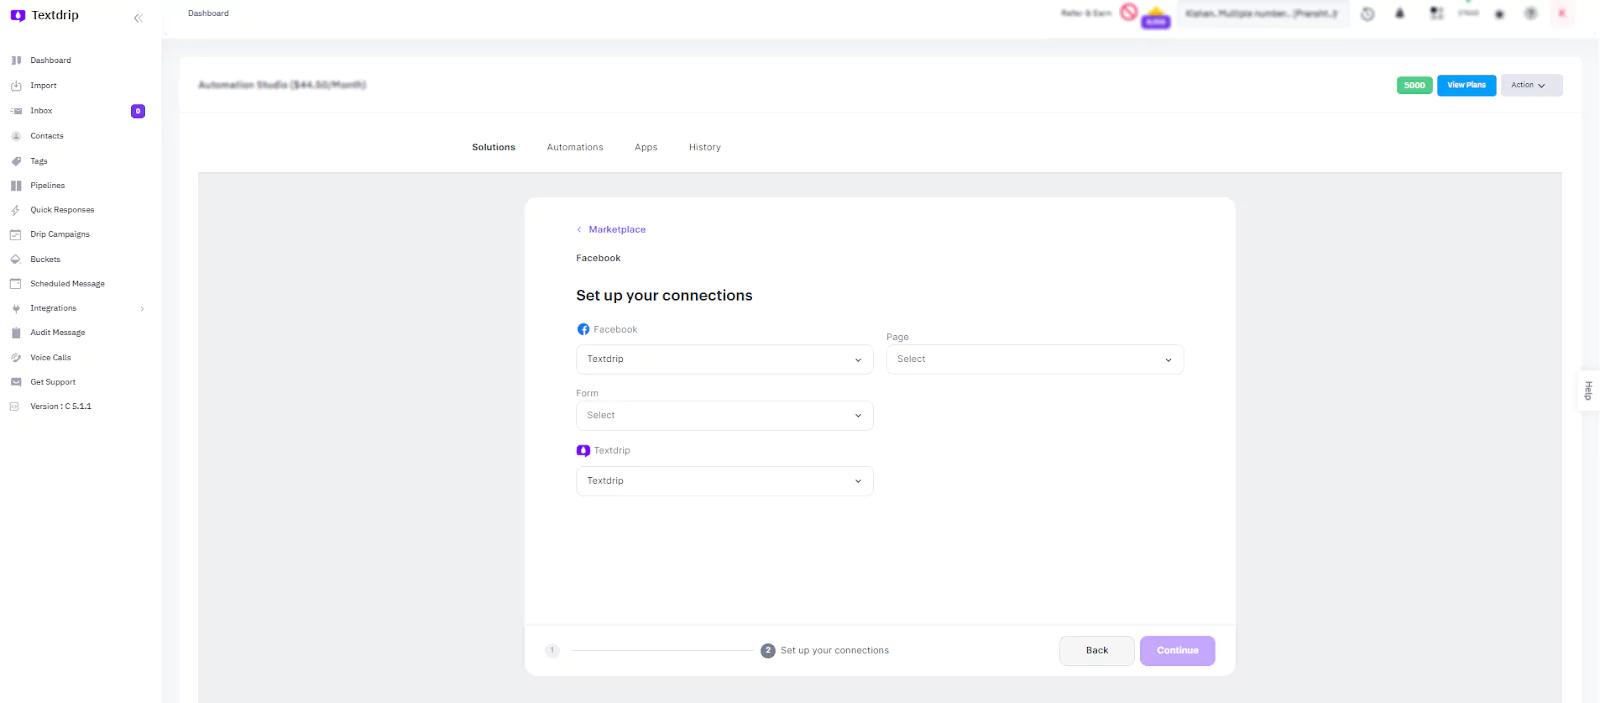
You’ll now be able to choose the specific Facebook Pages and Forms where your customers interact. These are the points from which leads will be captured and personalized SMS messages will be sent automatically via Textdrip.
Select the pages and forms that are part of your campaign, ensuring you’re capturing the right audience and leads. Once selected, click “Continue” to confirm your choices.
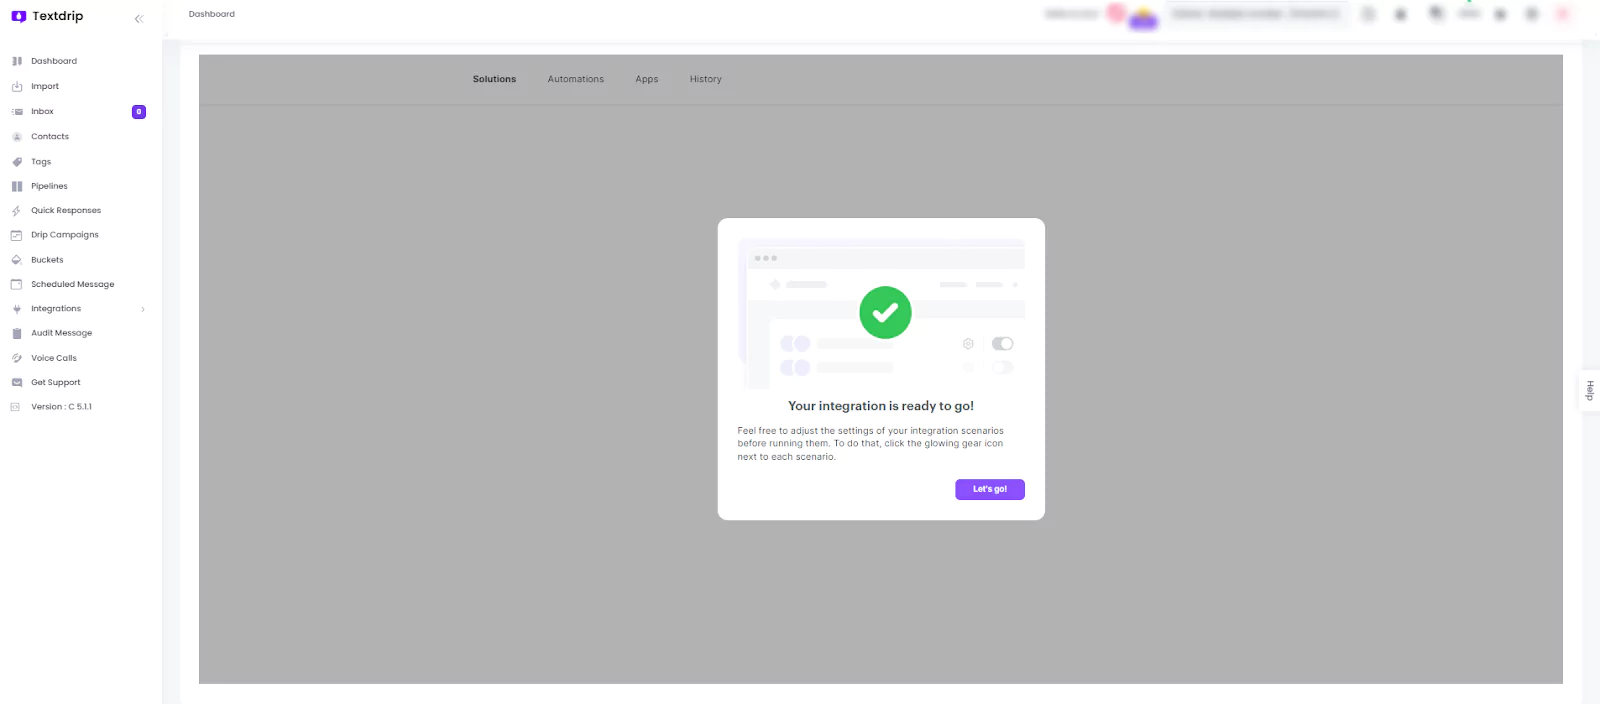
Congratulations!
Your Facebook-Textdrip integration is now complete! You’re all set to start capturing leads and sending personalized SMS campaigns automatically.
If you’d like more information on Facebook integration, click here for a detailed guide. If you encounter any issues, click here for troubleshooting assistance.